These steps are not needed for Standalone case.
There are few simple steps to begin with the first time synchronization.
All synchronization is to carried out in HQ only.
First of all, make sure that you have installed the POS Synchronize Server onto each Database Server PC that you would like to run Synchronization, regardless of LAN or Internet. (see POS Synchronize Server)
At each Workstation
go to Start > All Program > AutoCount POS2 > AutoCount POS Sync Notifier,
look into system tray at right bottom of the windows, double click on the icon of AutoCount POS Sync Notifier
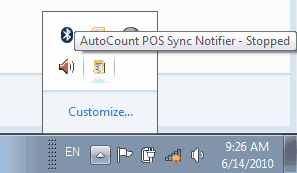
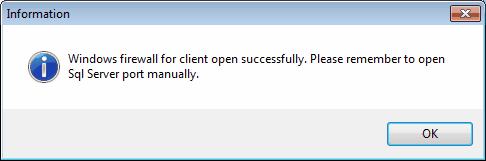
Click on Firewall > Open Client Windows Firewall Port (this will open the Windows Firewall only, if you have other antivirus/personal firewall, you need to open its port accordingly.)
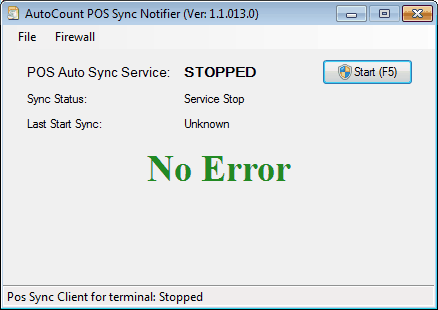
Then, click on File > Restart Sync Client Service,
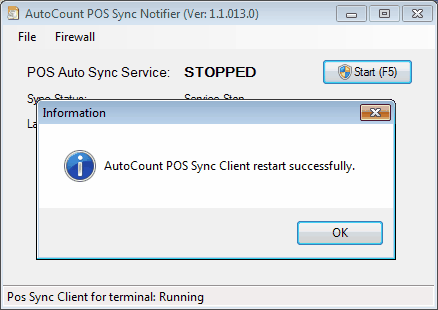
The AutoCount POS Sync Client restart successfully, you may see there is a message at the bottom showing: Pos Sync Client for terminal: Running.
At the Server
go to Start > All Program > AutoCount POS2 > AutoCount POS Sync Notifier,
look into system tray at right bottom of the windows, double click on the icon of AutoCount POS Sync Notifier
Click on Firewall > Open Auto Sync Windows Firewall Port (this will open the Windows Firewall only, if you have other antivirus/personal firewall, you need to open its port accordingly.)
Then, go to AutoCount POS backend,
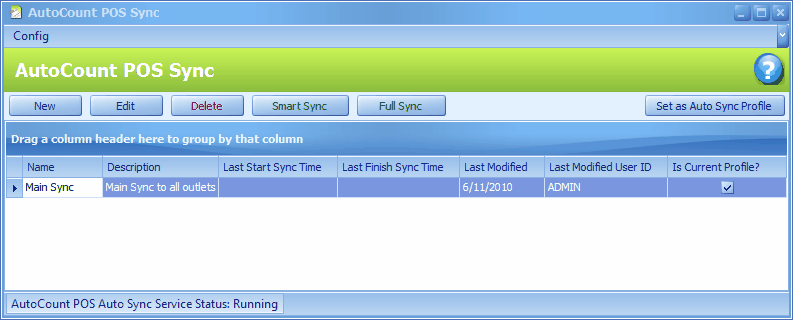
Go to Point of Sale > AutoCount POS Sync
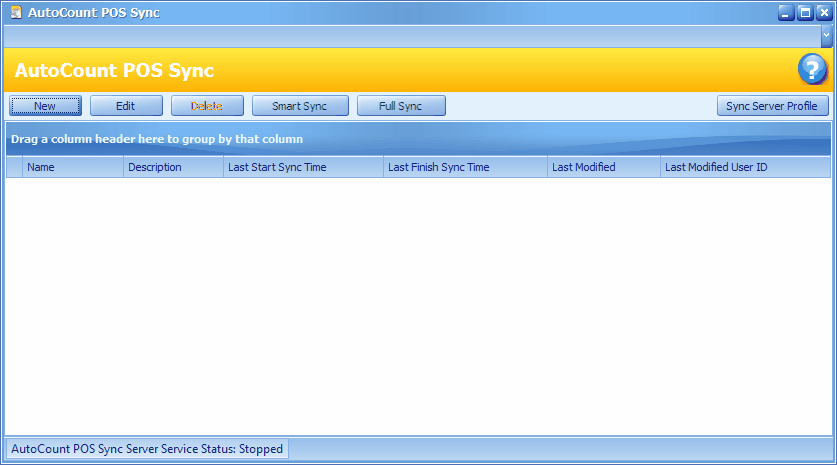
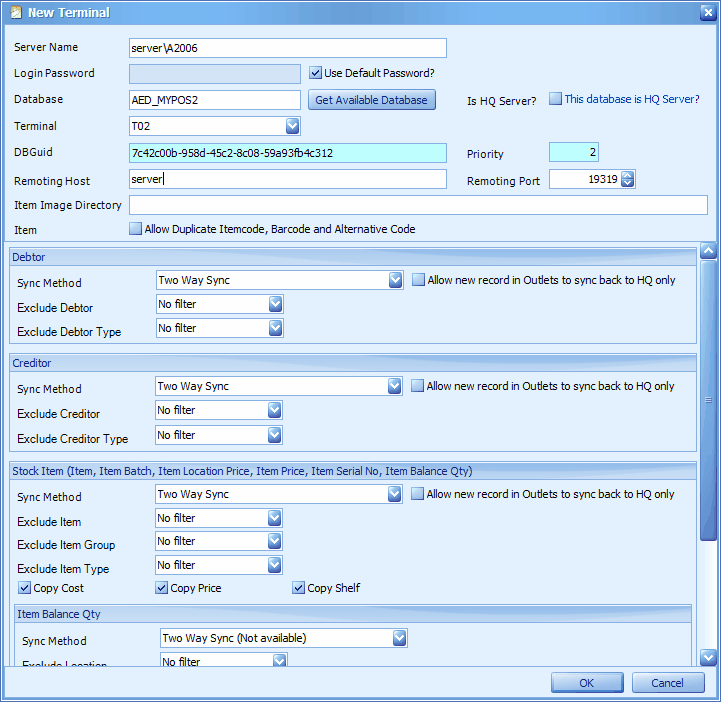
Click on New,
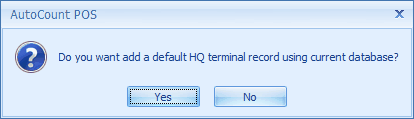
Click on Yes to add a default HQ outlet.
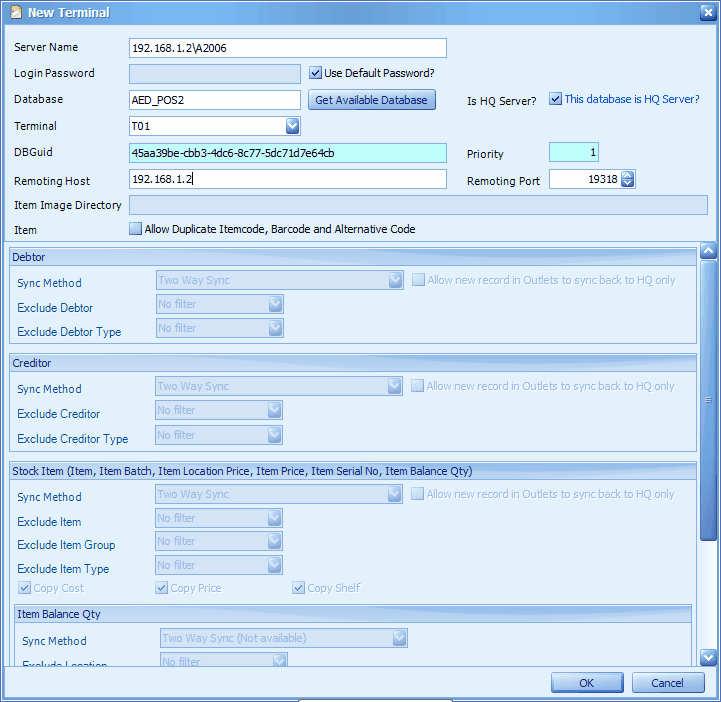
Server Name: key in the IP address, follows by a backslash and instance name
Login Password: check the checkbox of Use Default Password (defaulted during installation using AutoCount Installer CD)
Database: define the database or select from Get Available Database.
Is HQ Server?: Check the checkbox of This database is HQ Server?
Terminal: Assign a terminal for HQ
DB Guid: this is auto generated
Remoting Host: type the same IP address as per Server Name (IP address only)
Remoting Port: use default port number 19318, (client is 19319)or any port number that is currently not occupied. To check port number that are in use, go to Start > Run, key in cmd as command, when the black screen is displayed, key in netstat -a and hit Enter.
Item Image Directory: (for branches only) define a folder to transfer Item Image files. e.g. c:\Item Picture
Item: Allow duplicate item code, bar code and alternative code: when barcode/alternate code is duplicated among the items to be synced
Click on OK.

Name: define the name of this sync profile.
Description: some description about this sync profile.
Sync Method: You may choose 'One way sync' which only allow to sync from HQ to outlets; or 'Two way sync' so that outlets are allowed to edit master files (e.g. change price, edit item...) and will be synced back to HQ.
Allow new records in outlets to sync back to HQ only: if this is checked, only those new records will be sync back to HQ. (edited and modified records won't be synced).
Pause Sync Interval: this is to set the auto-sync interval (in seconds) before the next auto sync take place.
Notify On Error: check if you would like to be notified/prompted on any error of POS Sync.
Email On Error: key in the email address for error notification purpose, and click on SMTP Options to set the SMTP server.
Encryption Key: this is to add security to the contents of synchronization. Key in your desired key or click on Random to generate a random encryption key. This key will be sent to branches/outlets during first Full Sync and will be adopted for subsequent Smart Sync.
Click on '+' to add another Server and database. If you have 5 outlets (5 servers) then you need to add all of them one by one.
Note on Server Name: for a server in LAN environment, use <IP Address>\<Instance Name>; for a server in distance (through Internet), if it is dynamic IP address, key in <DynDNS hostname>, <port number>. if it is fixed IP address, key in <fixed IP Address>, <port number>.
You may also set the sync method and the exclusions for Debtor, Creditor, Stock Item, Item Package, and Item Balance Qty.
One way: HQ to outlet only.
Then click on OK.
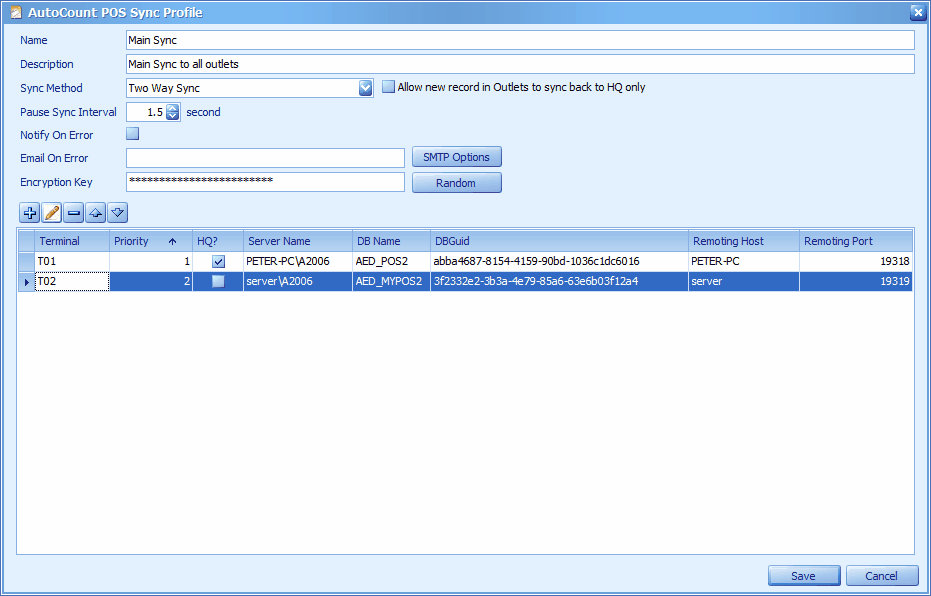
Then click on Save.

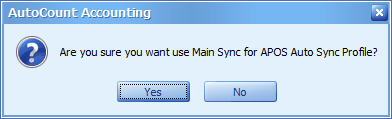
Sync Server Profile: this is to set the selected (highlighted) Sync Server Profile (in my case it is 'Main Sync') to run automatically with the interval of ? minutes.
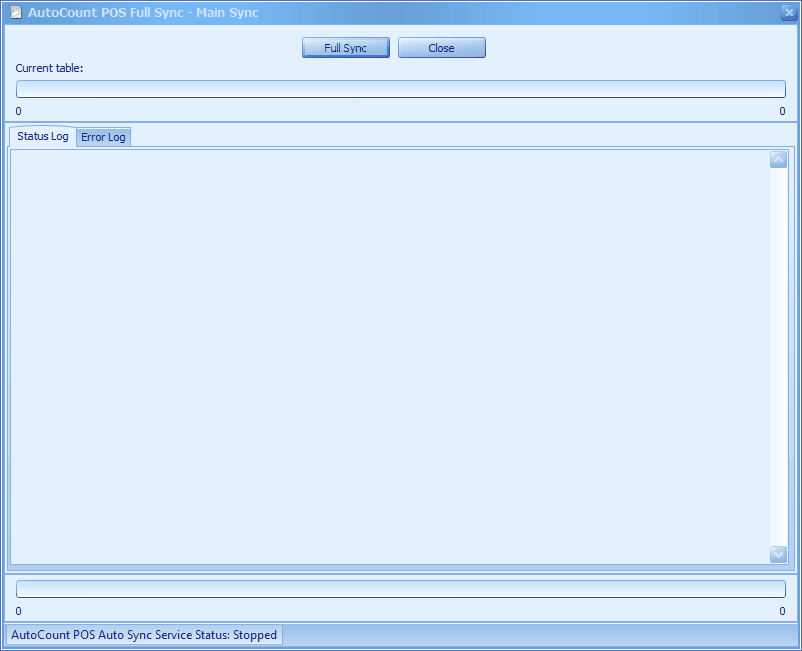
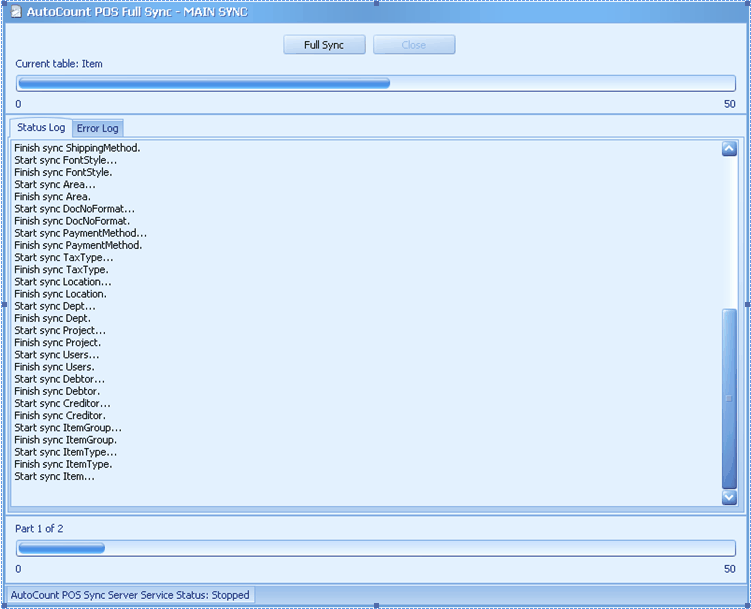
Full Sync: The first time sync (Full Sync) must be carried out before the outlets can start operate, as full sync will fill the outlet database server with all the necessary master files which were maintain at HQ database server. Full sync will take a bit longer time in case of through Internet. Alternatively, you may run full sync using LAN (which is faster), then backup and restore into the database at the outlet.
Click on Full Sync, then Full Sync, till it was completed.
Go back to AutoCount POS Sync Notifier,
Click on Start (F5) to start the POS Auto Sync Service... after that Smart Sync will run as scheduled.
Smart Sync: Smart sync means the routine subsequent synchronizations after the first time full sync. This is rather fast as it will only synchronize new data info and updates, with the condition that LAN or Internet is functioning properly. Smart sync is often two ways and is controlled at HQ. The operation at outlets will not be affected at all when smart sync is running (perhaps several times daily).
_____________________________________________________________
Send feedback about this topic to AutoCount. peter@autocountSoft.com
© 2010 Auto Count Sdn Bhd - Peter Tan. All rights reserved.